Set up a signage screen
A signage screen is any TV driven by an Android TV box running the Prism Signage player. There is nothing to configure on the box itself: the moment the player starts, it shows a 6-digit claim code, and you pair it from the admin app. Pairing flows straight into a guided setup wizard, so the screen is showing real content — not a blank wall — in under a minute.
What you'll do
Install the player on a TV box, claim it from the admin app, choose its name, layout and orientation, and publish a starter loop with the setup wizard.
You'll need: an Android TV box connected to the TV and to the gym's Wi-Fi or LAN, the Prism Signage APK installed on it (sideload it once — from a USB stick or a file manager), and a staff sign-in on the admin app.
Steps
-
Start the player on the TV box. The TV shows PAIR THIS SCREEN with a large 6-digit code, a countdown chip (Expires in followed by the time left), a QR code, and the box's local network address.
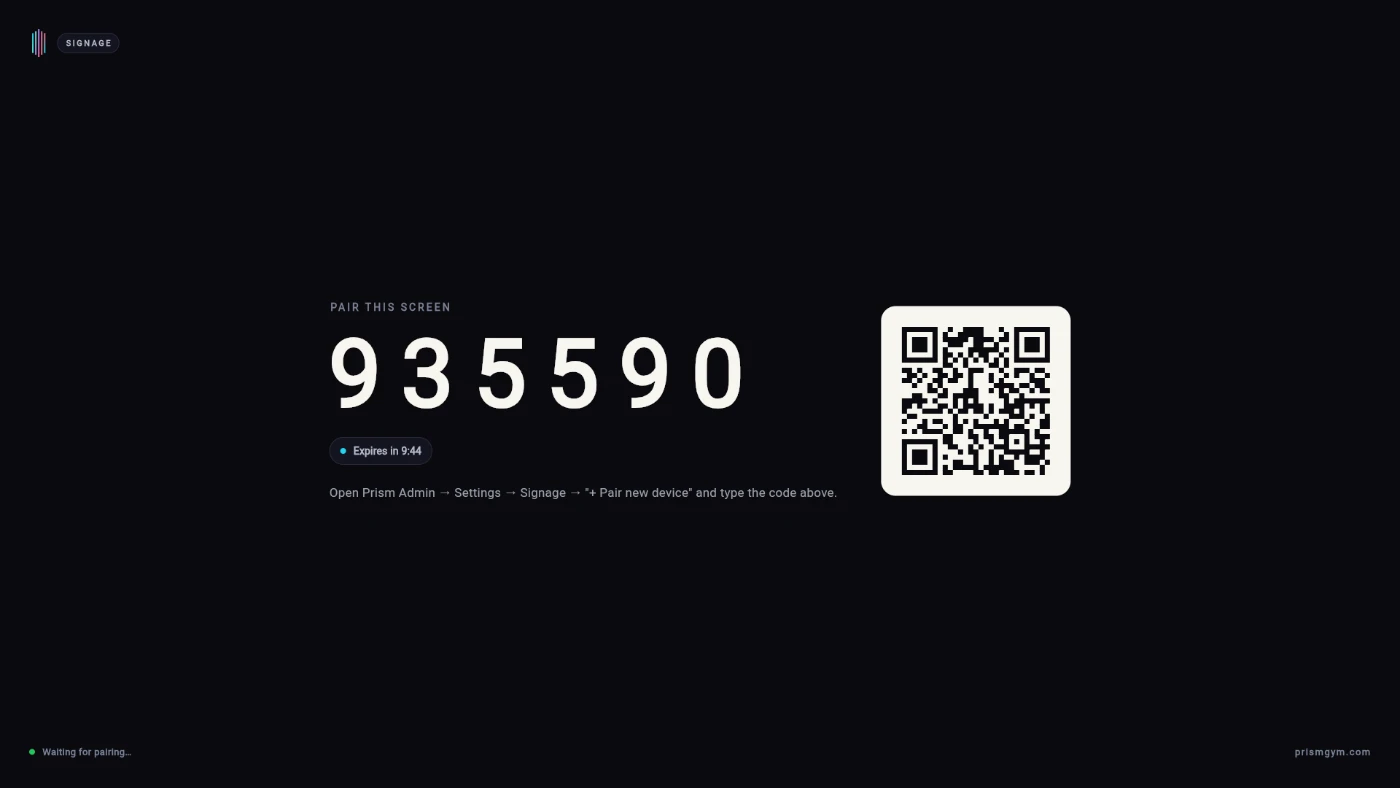
The player shows its own claim code the moment it starts. -
In the admin app, open Signage from the drawer. The Screens page opens.
-
Tap Add screen. The Pair a device screen opens on its code step.
-
Type the 6 digits shown on the TV, or tap Scan QR instead and point the phone at the QR code on the TV — the code fills itself in.
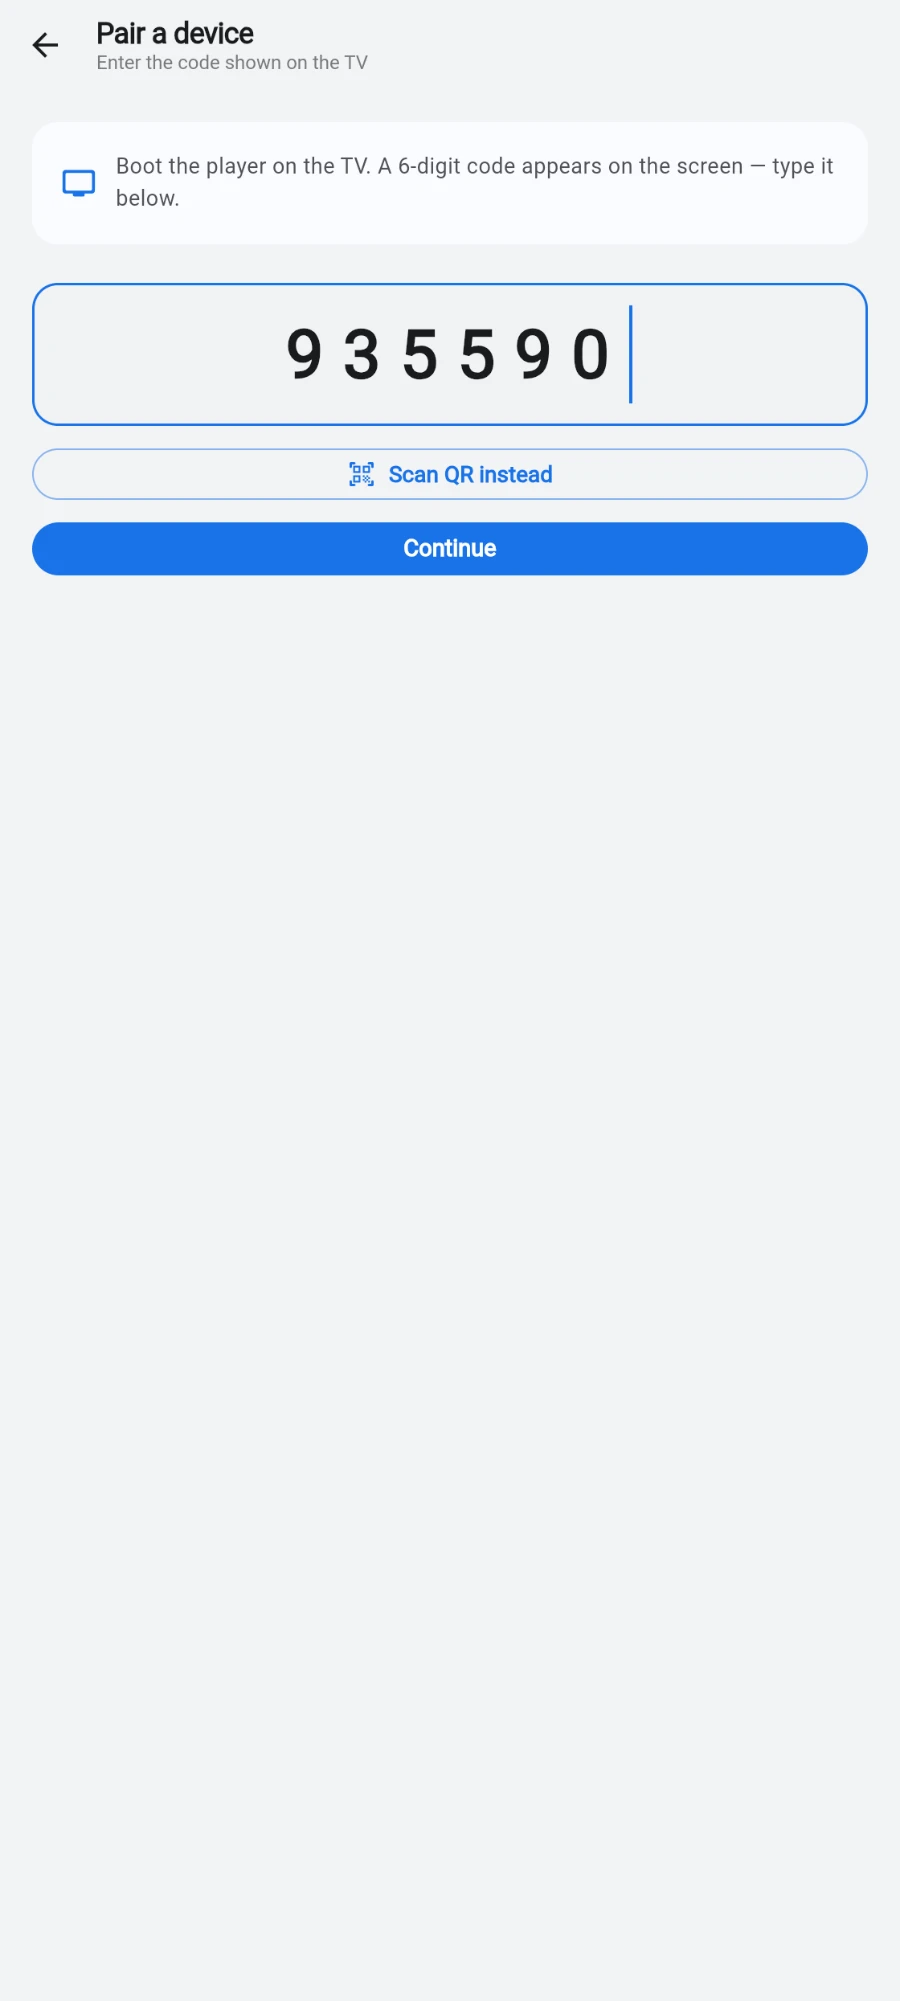
Type the six digits from the TV, or scan its QR. -
Tap Continue to reach the configuration step.
-
Name the screen — the hint suggests e.g. Lobby TV, Cardio floor. Names must be unique per gym; a duplicate is rejected with a friendly message.
-
Pick a Layout: Fullscreen (one zone fills the whole screen), Sidebar (main video plus a 25% side panel), Footer bar (main video plus a scrolling ticker), Quad (four equal zones), or L-shape (main area plus a right column and bottom strip).
-
Set the Orientation — Landscape or Portrait — to match how the TV is mounted. Portrait screens re-lock their panel automatically.
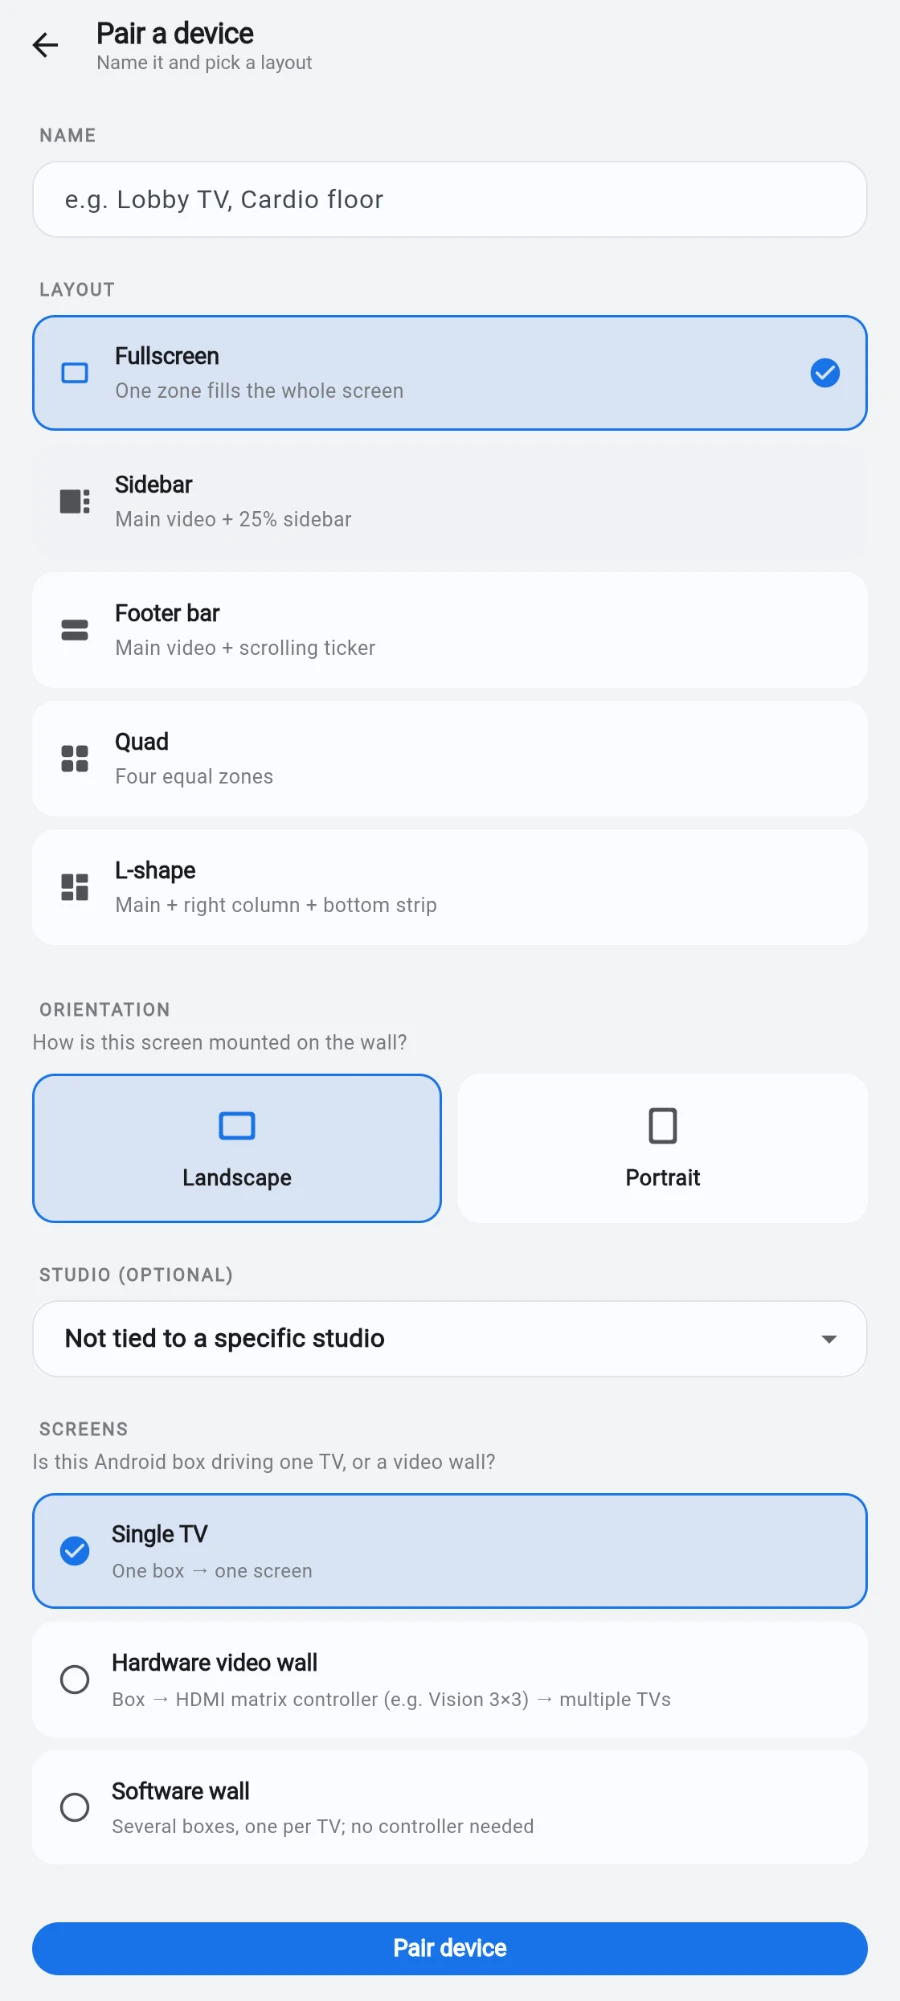
Name, layout, orientation, studio and what the box drives — one step. -
Optionally assign a studio under Studio (optional), or leave it as Not tied to a specific studio.
-
Under Screens, say what this box drives: Single TV (the default), Hardware video wall (the box feeds an HDMI matrix controller that splits across several TVs), or Software wall (several boxes, one per TV, no controller). Wall grids can be refined later — see the video walls chapter.
-
Tap Pair device. The TV leaves the pairing screen within seconds, and the admin app flows straight into the setup wizard: Set up this screen.
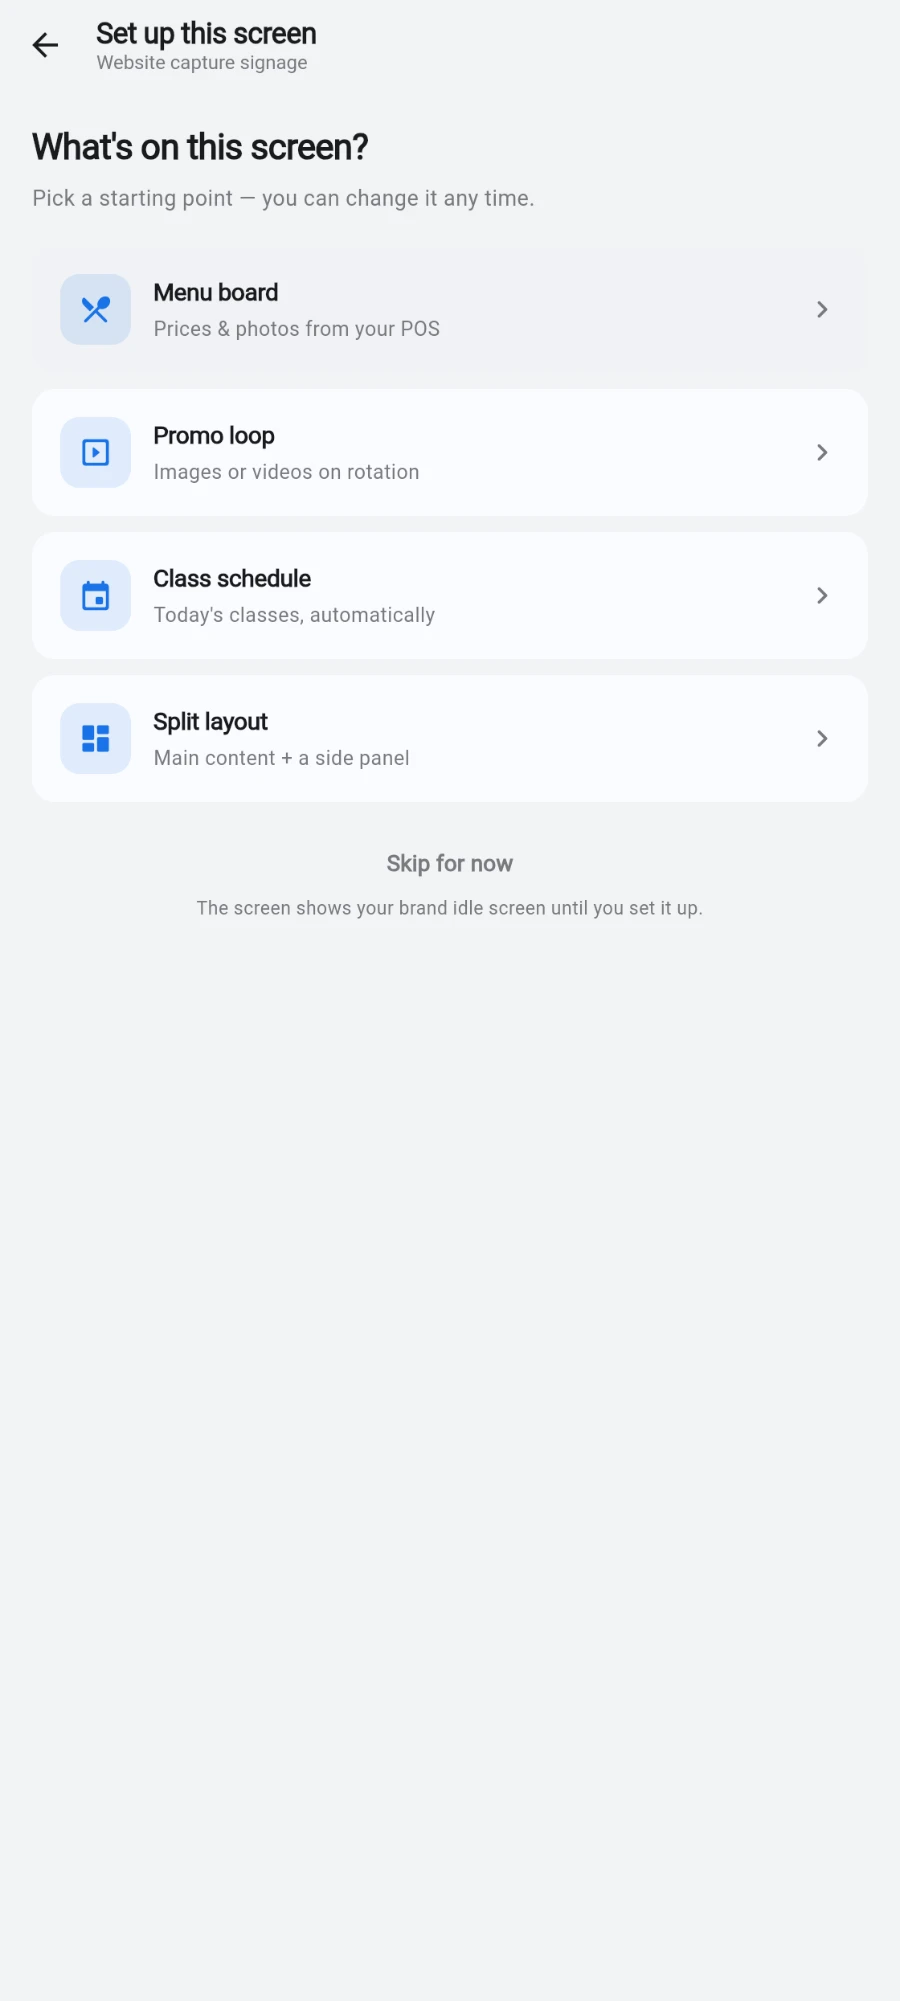
The wizard opens straight after pairing, and again later from the screen's menu. -
Pick a starting point: Menu board (prices and photos from your POS), Promo loop (images or videos on rotation), Class schedule (today's classes, automatic), or Split layout (main content plus a side panel). Each template opens the real editor for that content — nothing is a stripped-down clone.
-
Finish the template and tap Publish. The confirmation reads Published and tells you the screen updates within seconds.
-
Tap Done. You can also tap Skip for now at the wizard's first step — the screen then shows your brand idle screen until you set it up.
What you should see
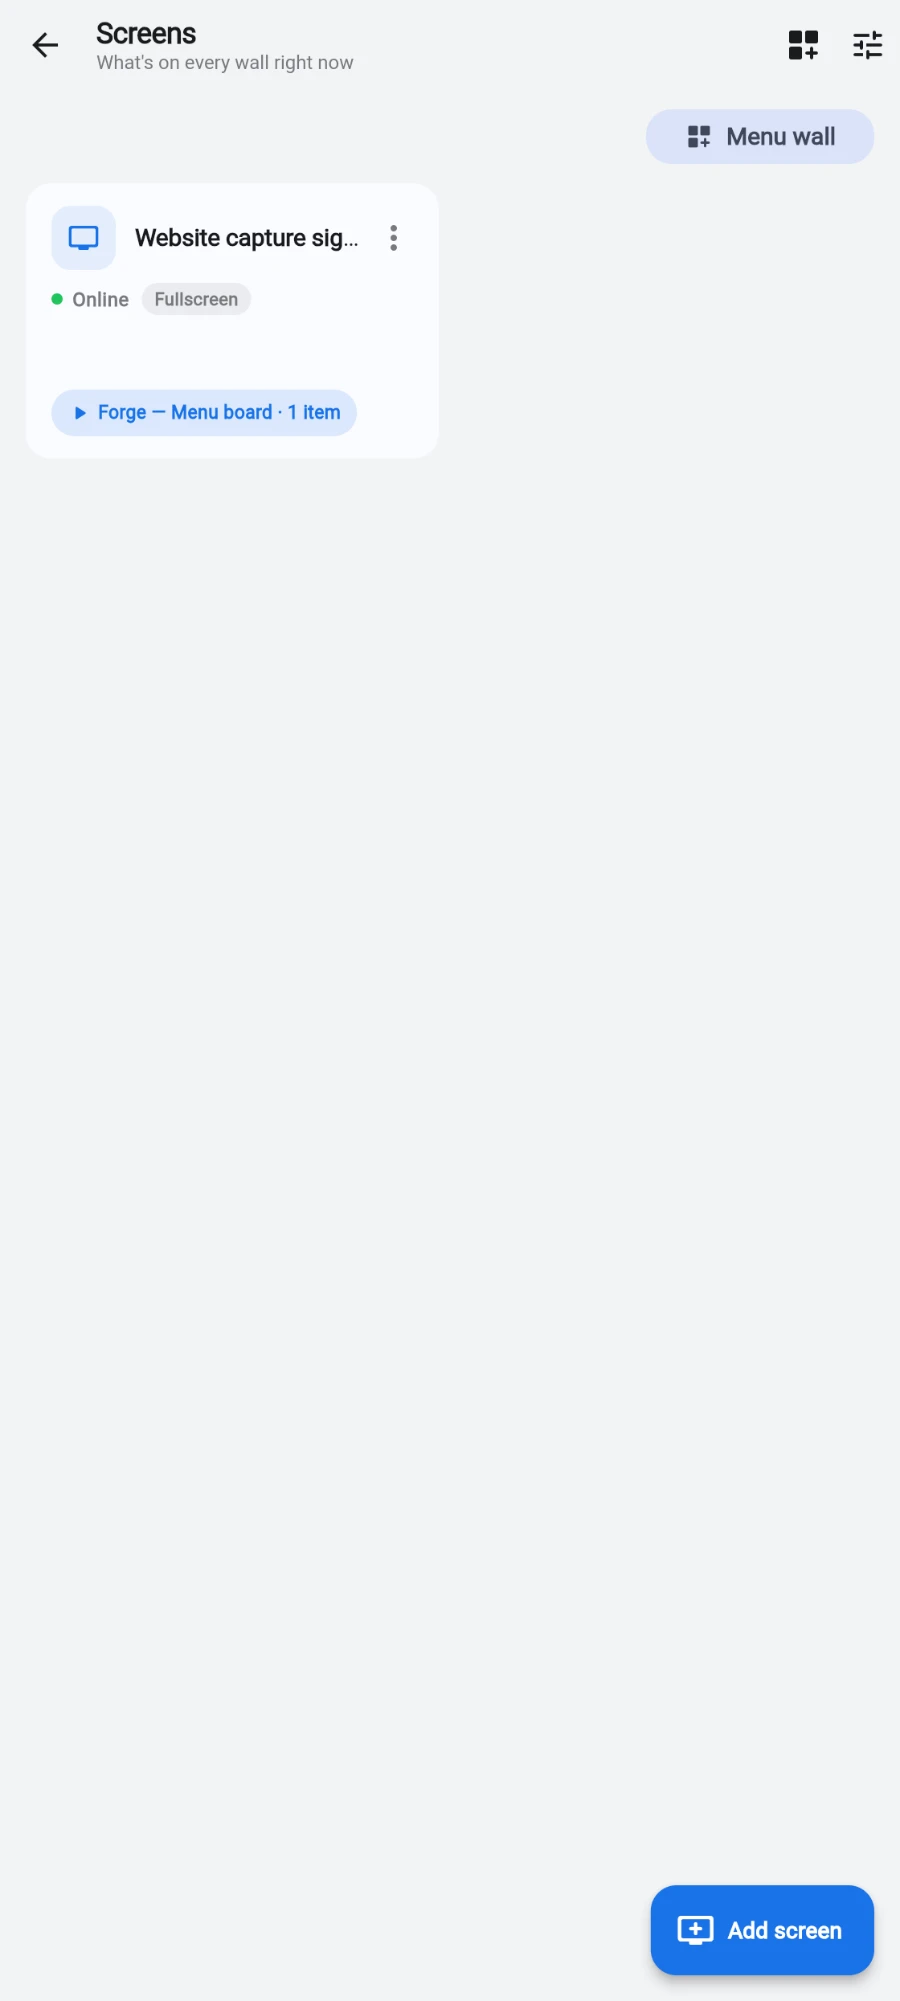
The TV plays the content you published. On the Screens page, the new screen's card shows its name, a green Online status dot, its layout chip, and a "Playing now" pill with the playlist name and item count.
If something goes wrong
- The code expired before you finished typing — codes last 10 minutes. The TV shows a fresh code automatically; enter the new one.
- "That code was already used to pair another screen" — someone else claimed it first. Restart the player to get a new code, or check whether the screen already appears on the Screens page.
- The name is rejected — another signage screen at this gym already uses it. Pick a different name.
- The TV stays on the pairing screen after a successful claim — cheap TV boxes sometimes drop their live connection; the player also checks in every few seconds, so give it a moment. If it still does not move on, confirm the box is actually online (the TV shows its local network address).
Still stuck? Email hello@prismgym.com — include your gym name, the device, and a photo of what you see.