Set up receipt printers
Prism prints receipts three ways: through a printer your operating system already knows about, through a printer you register by hand, or straight over the network to a Wi-Fi thermal printer — no driver install at all. Most gyms use the network route with an 80 mm thermal printer; this chapter walks through all three, plus the receipt-content settings and the single most common field problem (a blank slip).
What you'll do
Register each printer once, give it a role, run a test print, and set up your receipt header, footer and logo. After this, every till can print silently at sale time.
You'll need: an owner or manager account, the printer powered on, and — for a Wi-Fi printer — the printer joined to the same network as the till device. Thermal printers of the common receipt-printer class (Epson TM-T, Star TSP, Bixolon SRP and similar) are supported over the network.
Steps
-
Open Settings → Devices & access. On the Devices screen, find the Receipts & printers section and tap Printers to open Receipt printers.
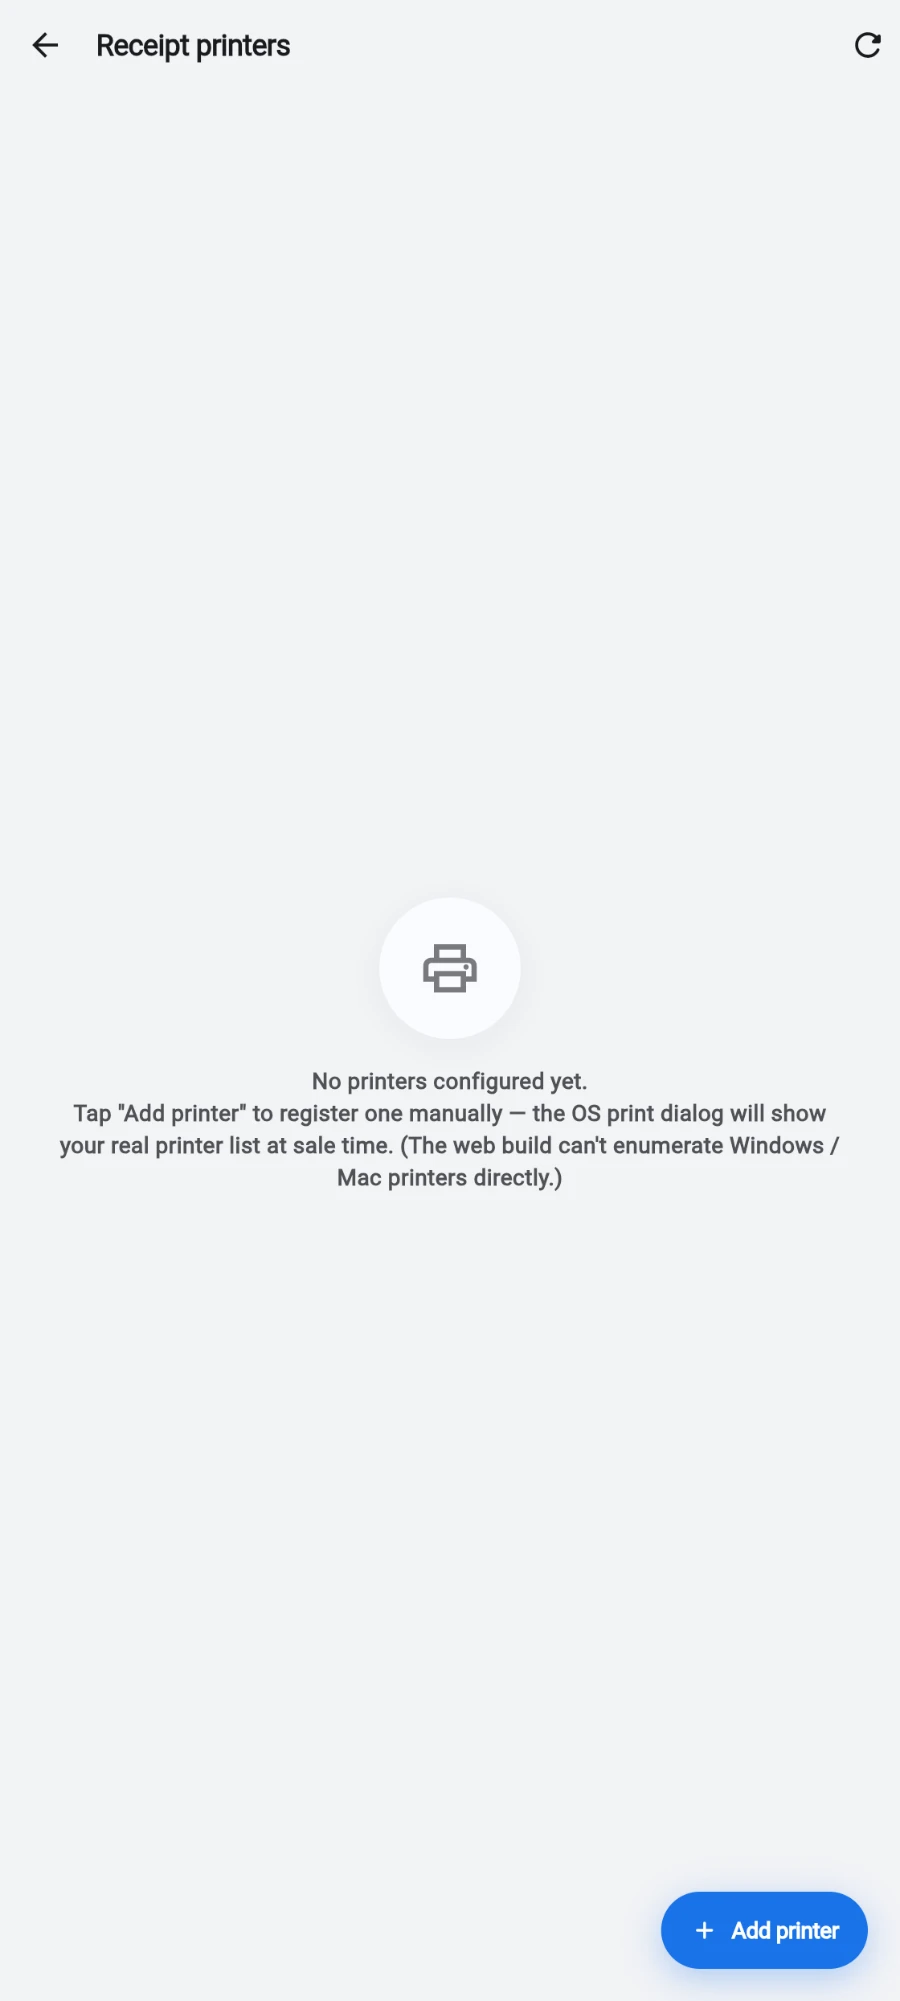
Every printer this gym knows about lives here. -
Tap Add printer. You get three choices: Pick from system printers (recommended when the till device's operating system already has the printer installed), Scan Wi-Fi for printers (for network thermal printers), and Add manually.
-
For a Wi-Fi thermal printer, choose Scan Wi-Fi for printers. The app sweeps your local network for printers listening on port 9100 and lists every one that responds — tap yours and the form is pre-filled with its address.
-
In the New printer form, the chips under HOW IS IT CONNECTED set the transport: OS-installed prints silently through the operating system, Manual always opens the system print dialog at sale time, and Network talks directly to the printer's IP address.
-
Give it a Display name (for example "Bar receipt printer"). For a network printer, check the IP address and leave Port at 9100 unless your printer's manual says otherwise.
-
Pick a chip under ROLE: Customer receipt, Kitchen, Bar, Label or Other. Customer receipts go to your default receipt printer; kitchen and bar printers receive prep dockets instead (see the dockets chapter).
-
Pick the PAPER WIDTH — 58, 80 or 112 mm rolls, or A4 for a full-page printer. Most receipt printers take 80 mm.
-
Set the toggles: Default receipt printer (one per gym — customer receipts go here when nothing else is routed), Active, Auto-cut paper, and Open cash drawer if a cash drawer is plugged into the printer — the drawer pops while the receipt is still printing.
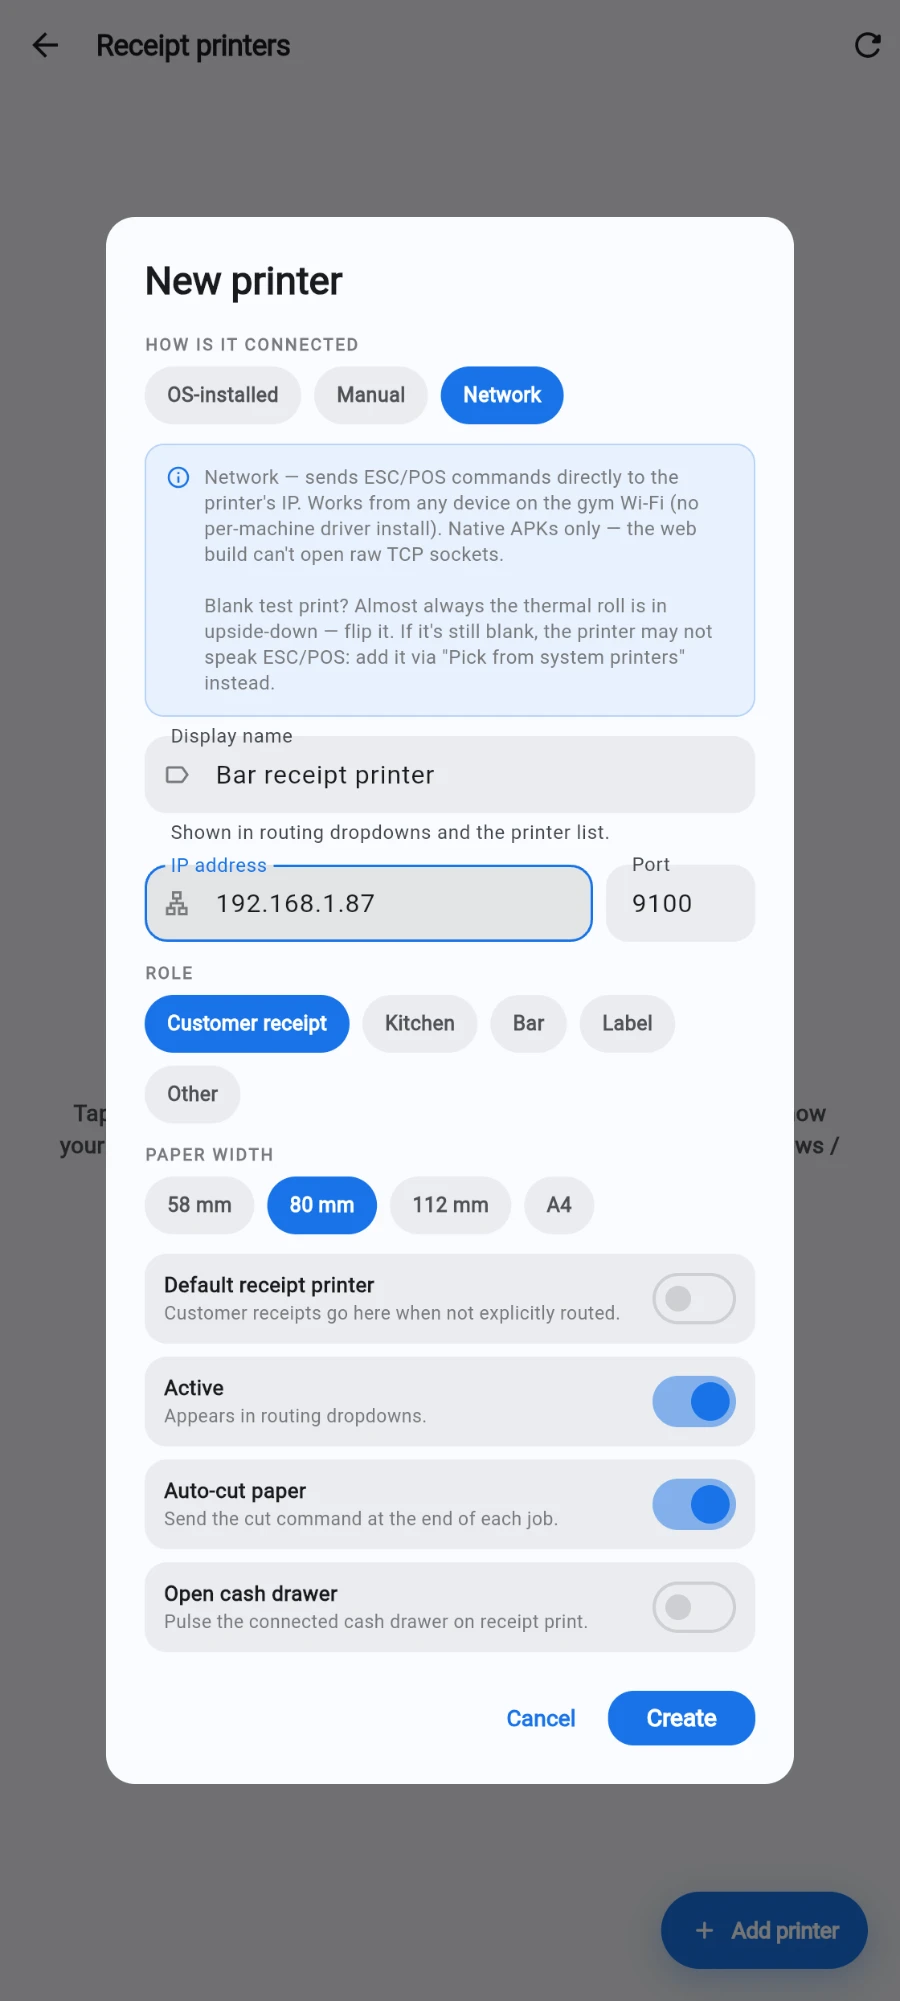
A network printer needs only a name, an IP and a role. -
Tap Create, then run Test print from the confirmation. For a network printer this sends a real test slip straight to the printer; for OS-installed and manual printers it produces a test page you can print or Save as PDF.
-
If the slip comes out blank, open the printer lid and flip the paper roll. Thermal paper only prints on one side, and a roll dropped in upside-down prints nothing. The in-app hint on the Network form says exactly this.
-
Back on the Devices screen, tap Receipt customisation to set what receipts say: a Top banner line, Tagline, Footer line and Thank-you message under Branding; your address, phone and Tax / VAT ID under Contact & tax; and a logo with LOGO SIZE presets (Small, Medium, Large). Leave the logo empty to use your gym's brand logo automatically.
-
Under What to print, toggle the extras: Cashier name, Tax breakdown, Loyalty tier, Earned points, and a Feedback QR code pointing at your Survey URL.
-
Under Checkout, decide whether receipts print by themselves: Print receipt automatically fires after every sale; leave it off and the cashier taps Print receipt on the sale-complete dialog instead. Tap Save.
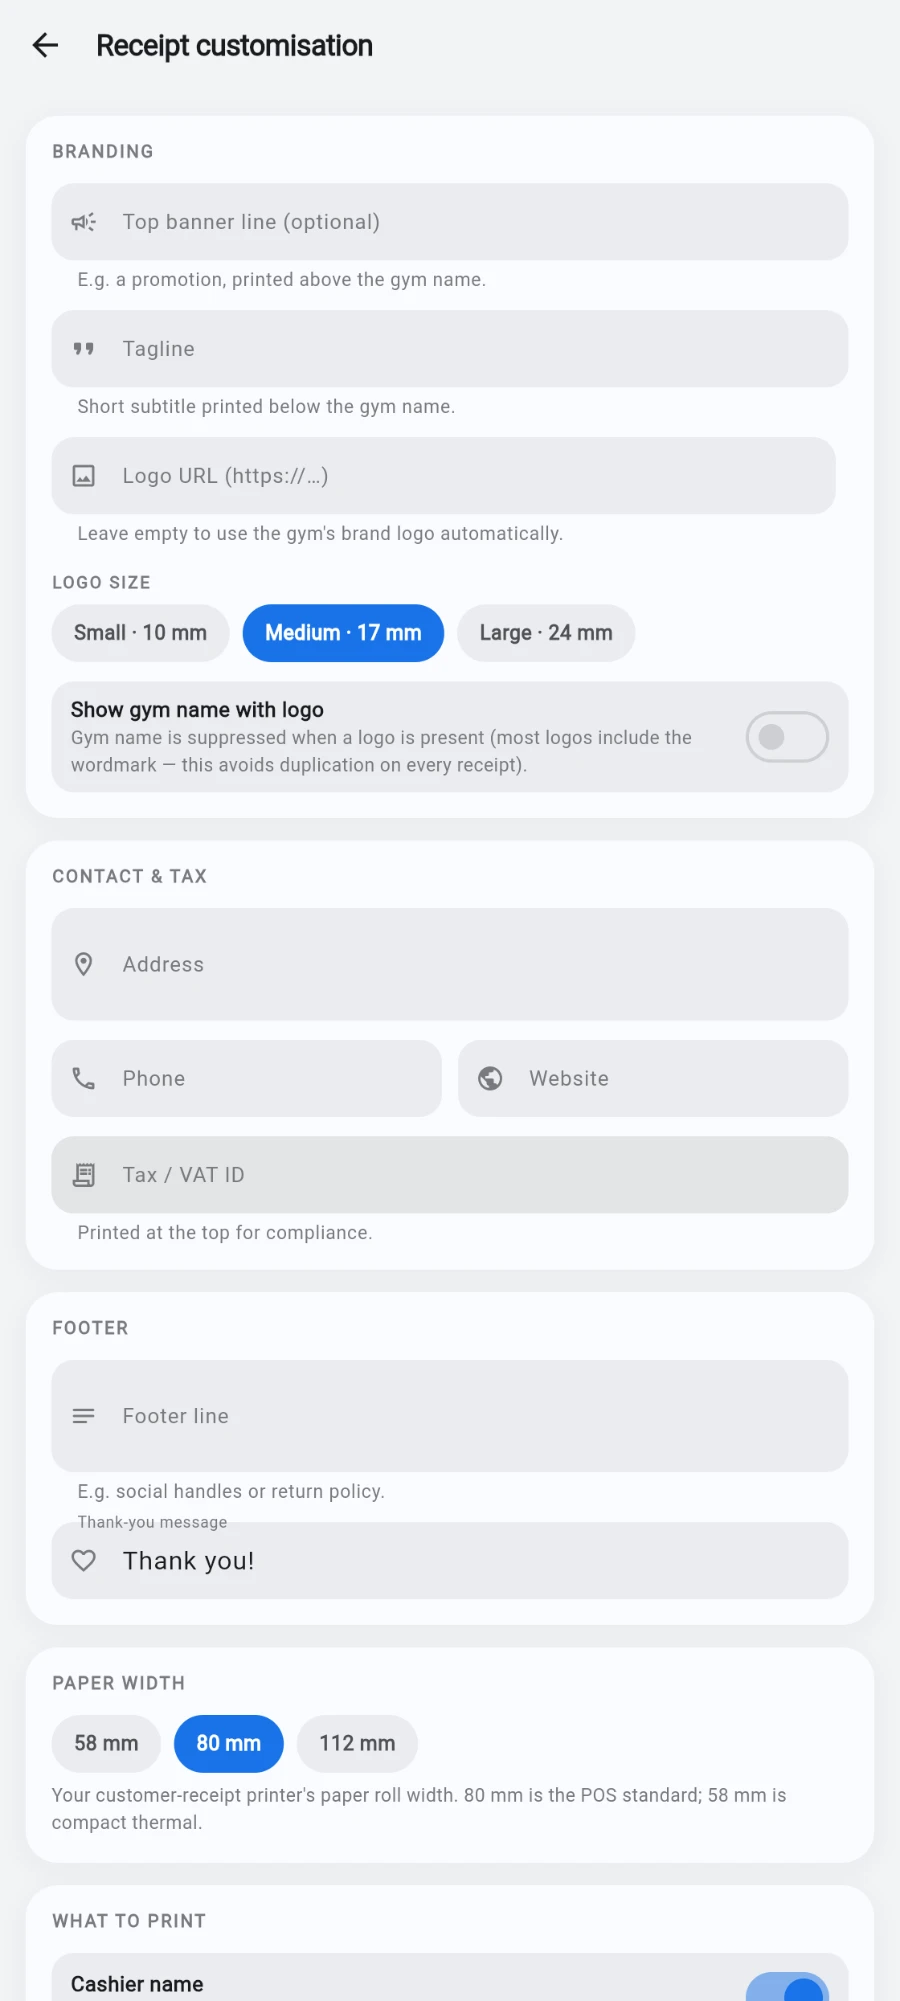
What every receipt says — set once, used by every till.
What you should see
A test slip with legible text, your printer listed on Receipt printers with its role and paper width, and — after a real sale — a receipt carrying your header, logo and footer exactly as configured.
If something goes wrong
- The test print is blank — the thermal roll is in upside-down; flip it. If it is still blank, the printer may not understand the raw receipt language: add it via Pick from system printers instead.
- The Wi-Fi scan finds nothing — the printer is on a different network or your Wi-Fi has client isolation turned on. Print the printer's own self-test page (usually by holding its feed button at power-on) to read its IP address, then use Add manually.
- Receipts print but the cash drawer stays shut — the drawer cable must be plugged into the printer's drawer port, and Open cash drawer must be on for that printer.
- Nothing prints at sale time — check the printer is marked Active and that one printer has Default receipt printer turned on.
Still stuck? Email hello@prismgym.com — include your gym name, the device, and a photo of what you see.