Publish your timetable with Schedule Studio
Schedule Studio takes the classes you've already scheduled and lays them out as a marketing-grade asset — a TV signage image, an Instagram story, or an A4 poster for the front desk. You style it once; the class data fills itself in from your timetable.
What you'll do
Design the weekly timetable in one of three layouts, brand it with your logo and colours, and export it as an image, a PDF or a print job.
You'll need: classes already on the timetable for the week, and a staff account that can manage classes.
Steps
-
Open the Classes screen from the main menu, then tap the Schedule Studio card — it reads Design poster / signage / PDF schedules.
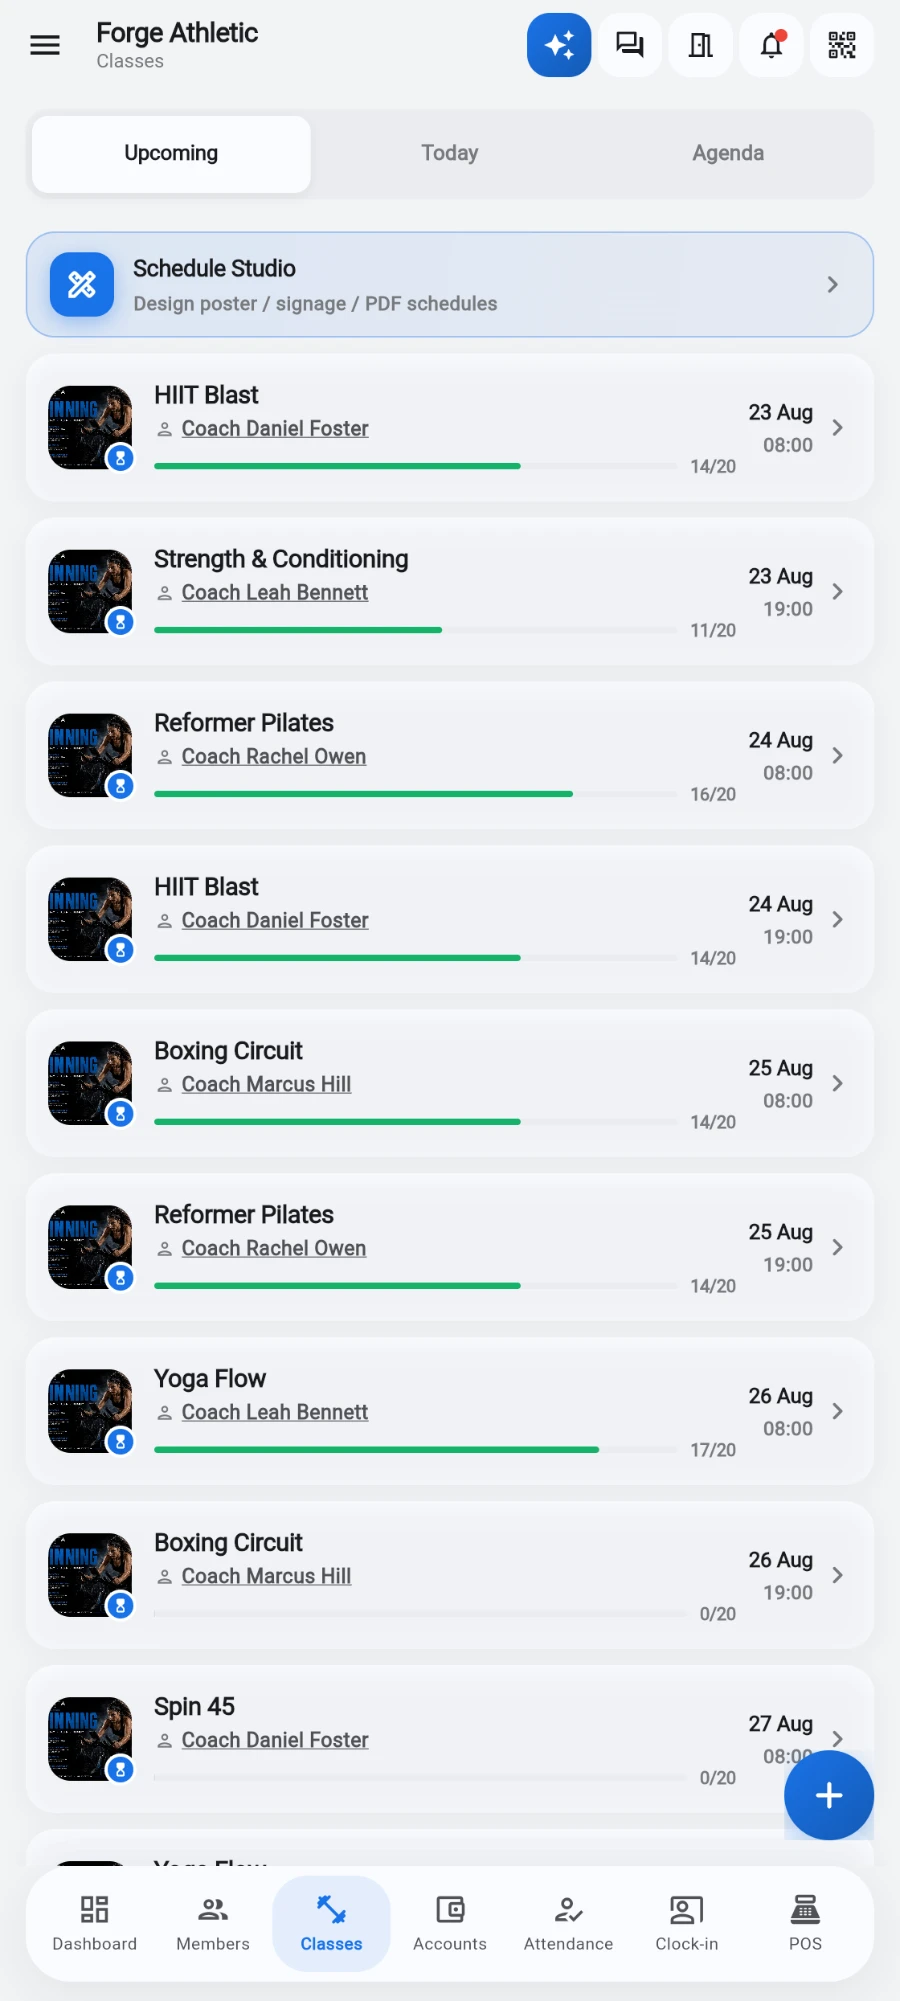
The Schedule Studio card at the top of the Classes screen. -
Pick a Style: Grid (seven day columns — best for signage and print), Timeline (stacked days with a time rail — best for portrait), or Cards (editorial layout with a marketing feel).
-
Pick a Format: Horizontal for TVs, Vertical for stories and lobby portraits, or Print for paper. Each format has a size dropdown — 1920 × 1080 or 3840 × 2160 for signage, 1080 × 1920 or 1080 × 1350 for portrait, A4 portrait or US Letter for print.
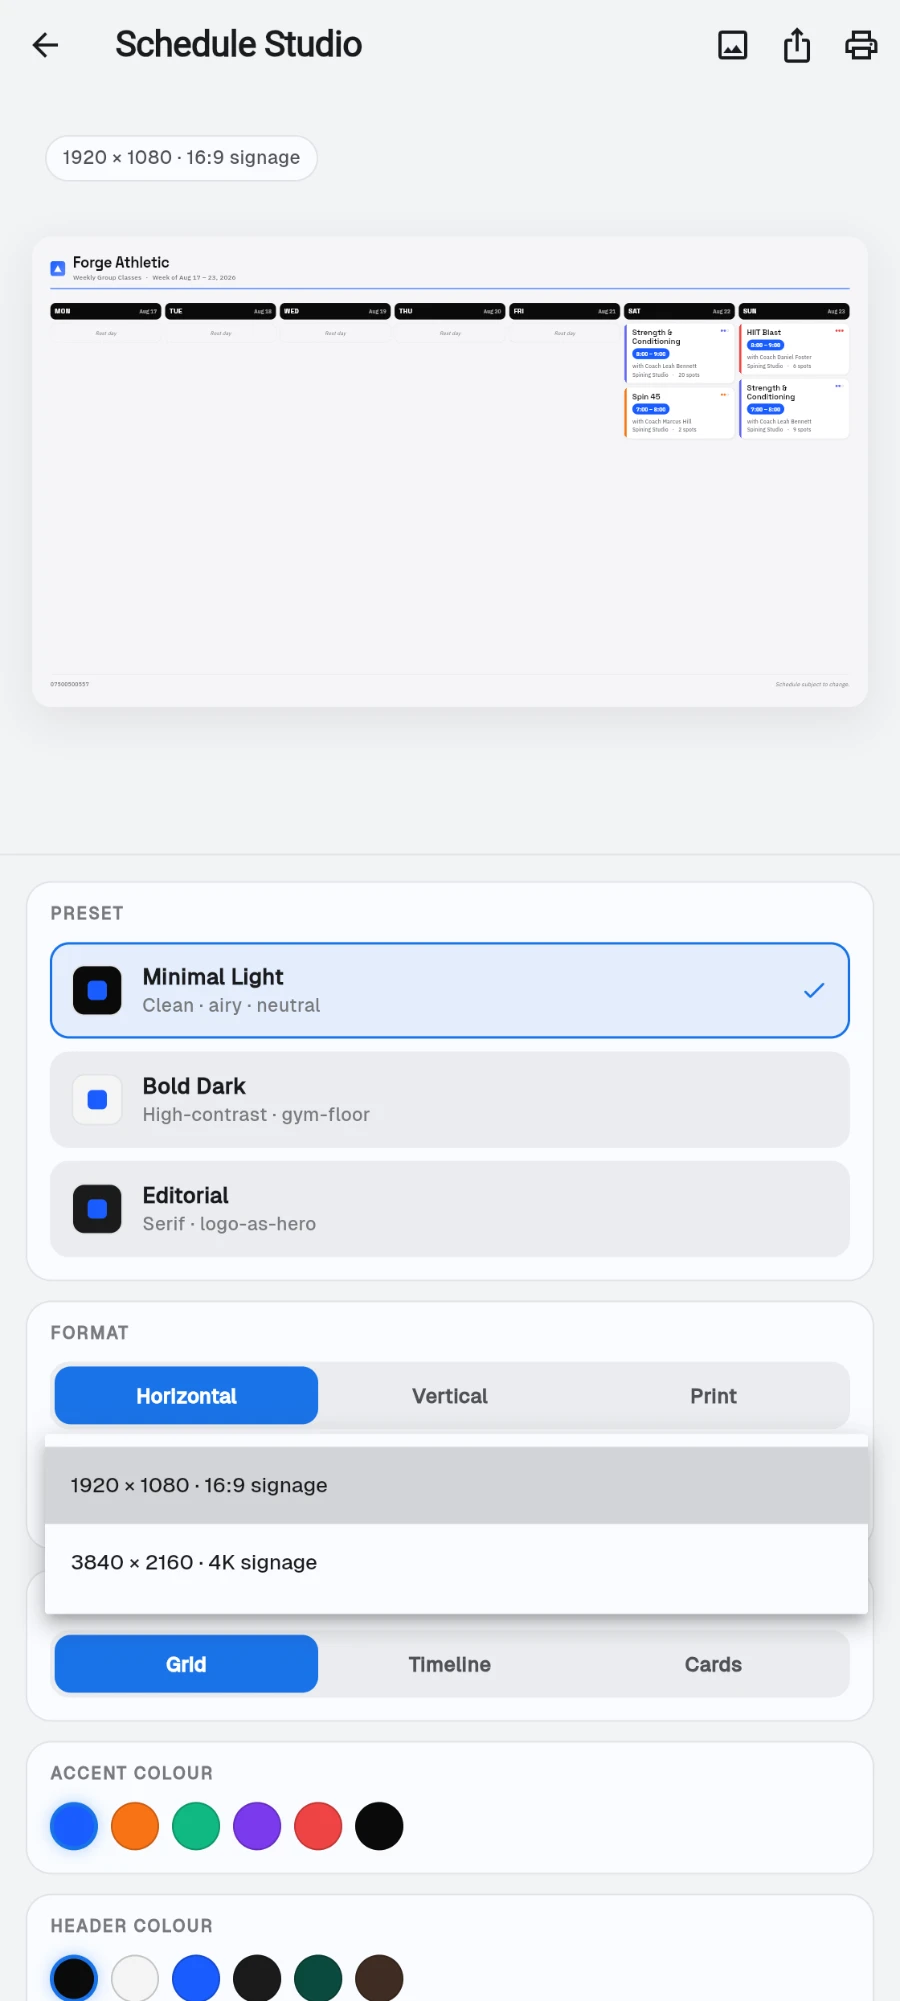
Preset, format and the size dropdown for a horizontal signage board. -
Choose a Preset — Minimal Light, Bold Dark or Editorial — as a starting point. Every field stays editable after you pick one.
-
Set the Logo section: Logo placement (Left, Center or Right). Your saved gym logo is used by default; tap Upload logo to use a different one.
-
Adjust colours: Accent colour, Header colour and the Dark mode toggle. Each class category keeps its own swatch colour so the board stays scannable.
-
Edit the text fields — the Week label, Subtitle, Footer note, Contact and Venue lines.
-
Pick a Language — English, Arabic or Kurdish — and, under Fonts, a Heading and Body face (choices include Space Grotesk, Archivo, Newsreader (serif) and IBM Plex Sans).
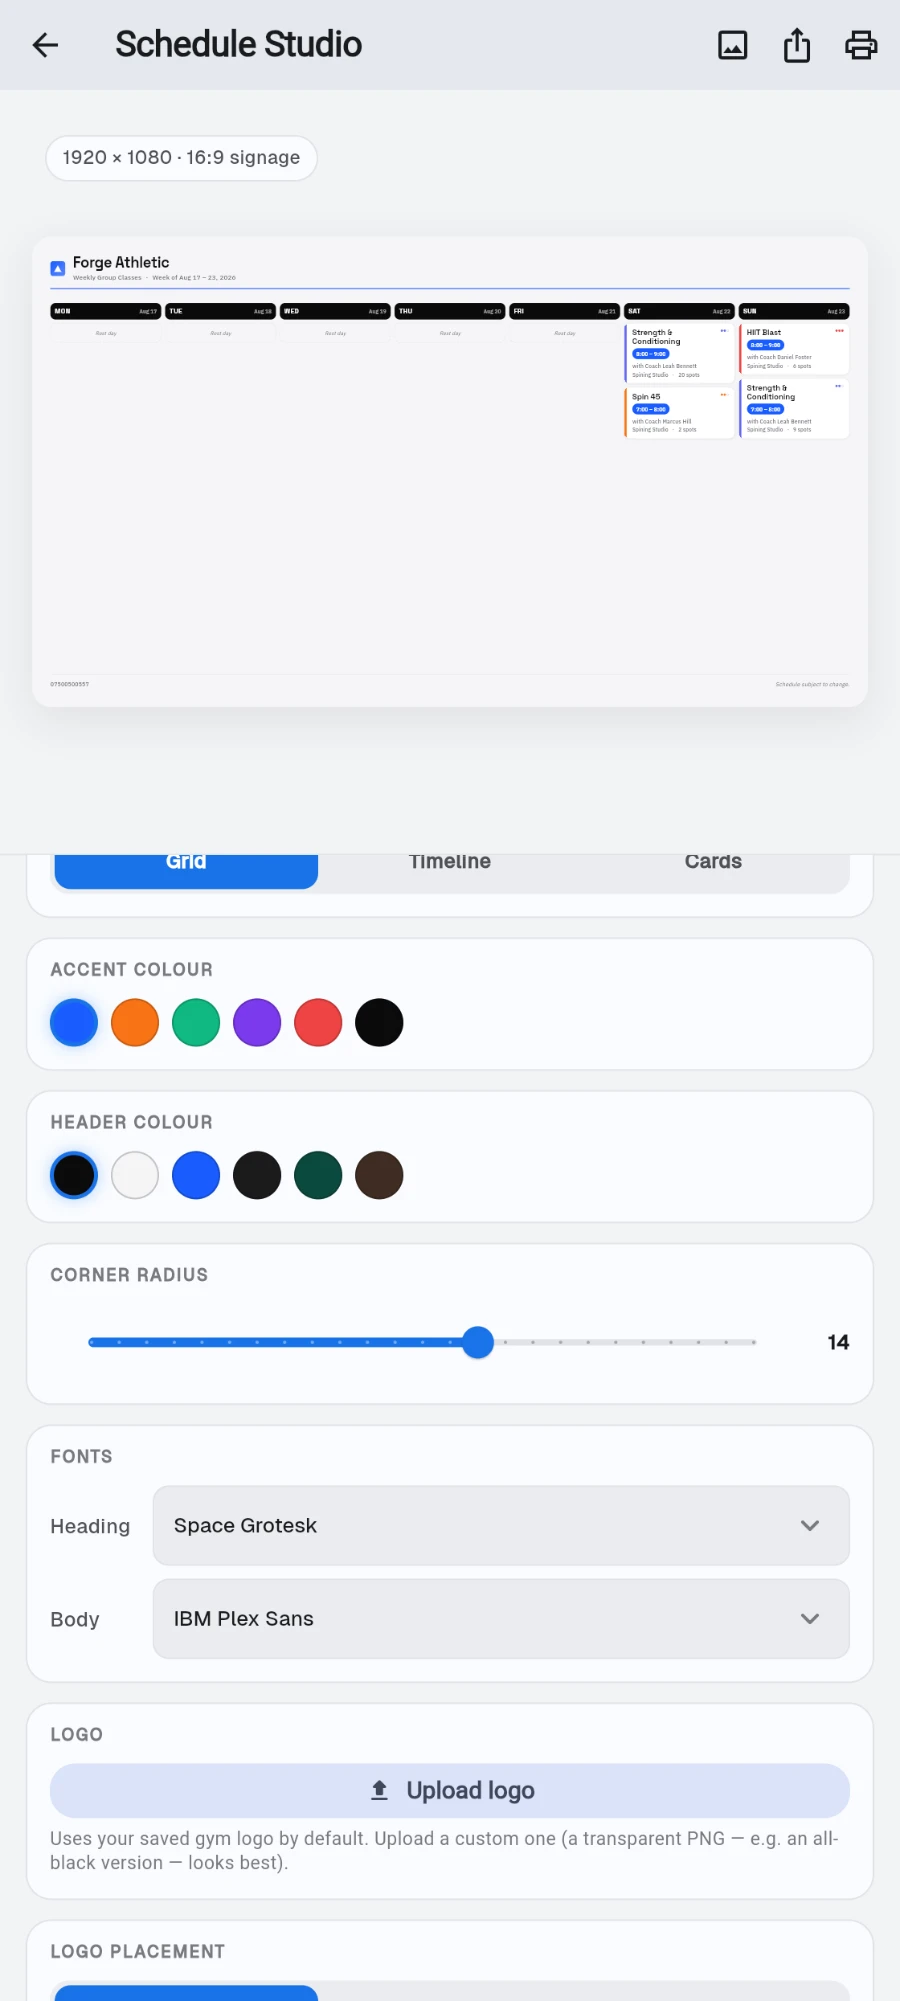
Colours, corner radius, fonts and the logo — the preview repaints as you change them. -
Under Metadata, toggle what each class card shows: Instructor, Room, Capacity and Intensity dots.
-
Export from the bottom bar: Save PNG for signage and social, Share PDF to send it anywhere, or Print to open your device's print preview.
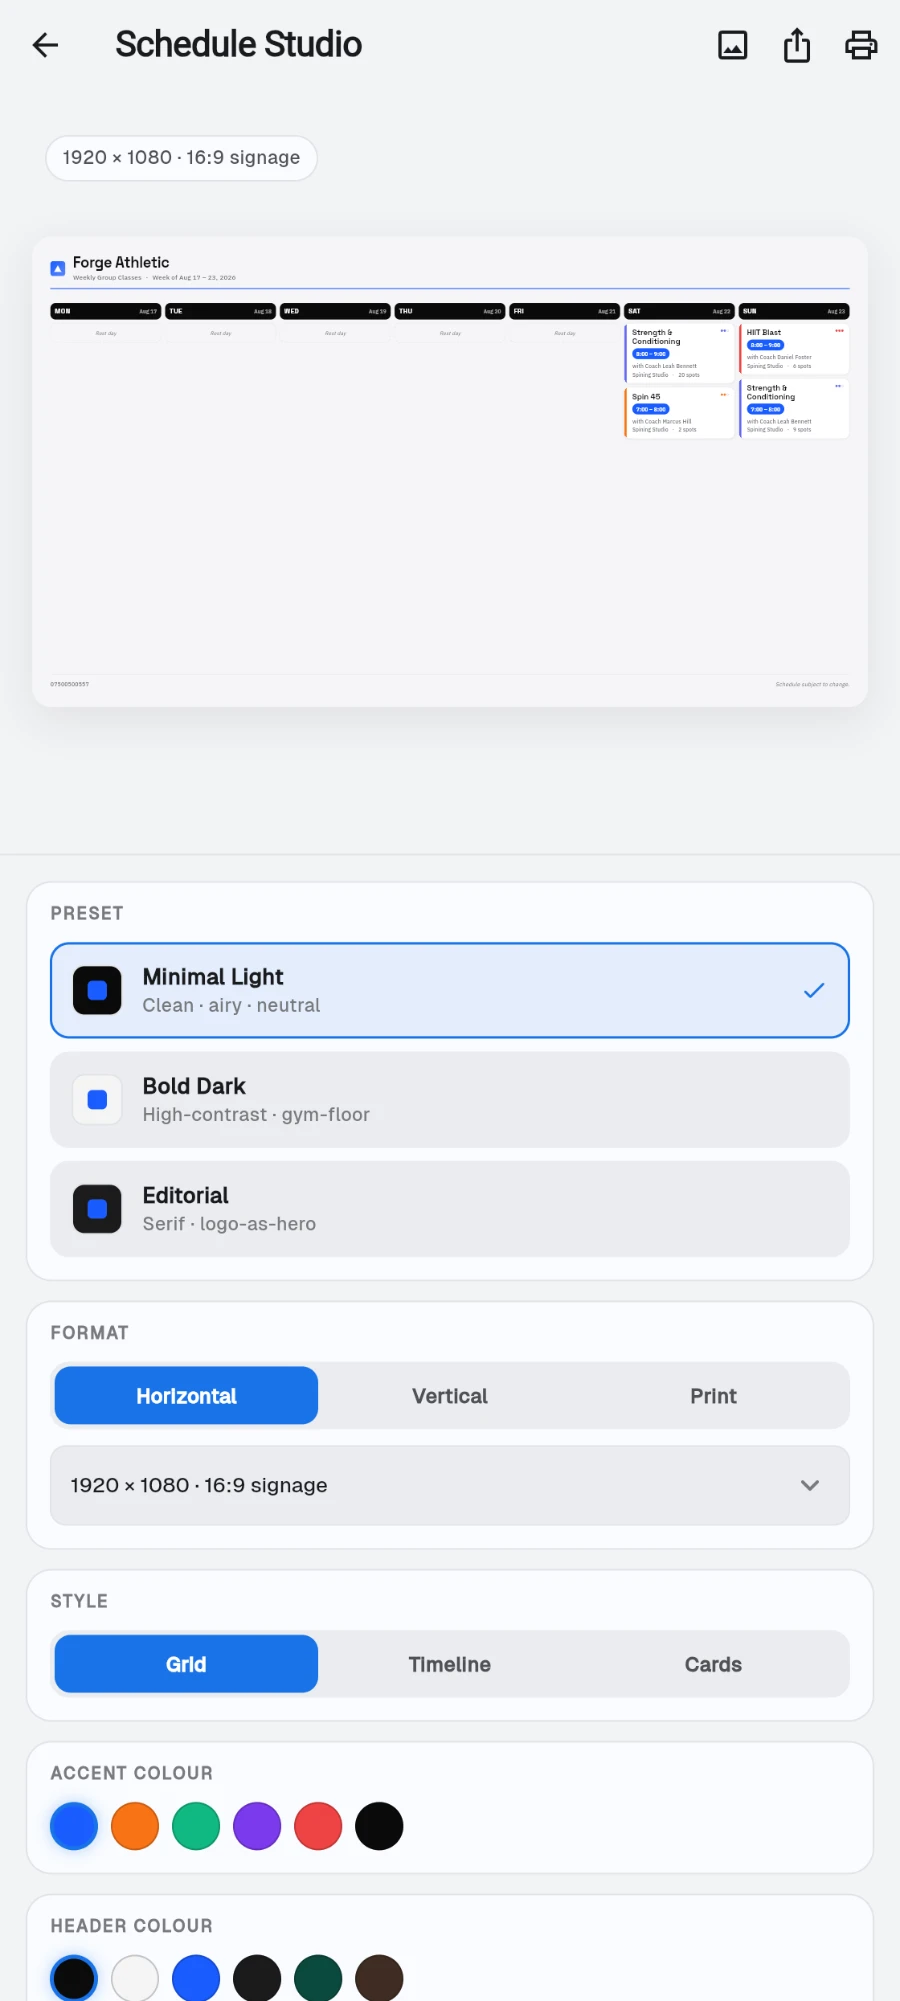
The finished board, with save, share and print in the top bar.
What you should see
A live preview that repaints as you change each control, and an exported file that matches it exactly. PNG exports land in your device's saved files; PDF exports open the share sheet.
If something goes wrong
- The preview shows placeholder classes — there are no classes scheduled for the selected week yet. Add them on the Classes screen first.
- The exported image looks cramped — you picked a portrait size for a Grid layout. Switch to Timeline, which is designed for vertical formats.
- Print comes out blurry — export with Print or Share PDF rather than printing a saved PNG; the PDF path uses vector text.
- Your logo is missing from the design — no gym logo is saved in your branding settings. Tap Upload logo in Schedule Studio, or add one in your gym settings so every design picks it up.
Still stuck? Email hello@prismgym.com — include your gym name, the device, and a photo of what you see.