Create a member
What you'll do
Create a member record with contact details and preferences. Selling their plan is a separate, second step from their profile — a new member starts with No plan.
You'll need: a staff account with the member-management permission, and the member in front of you (or their details).
Steps
-
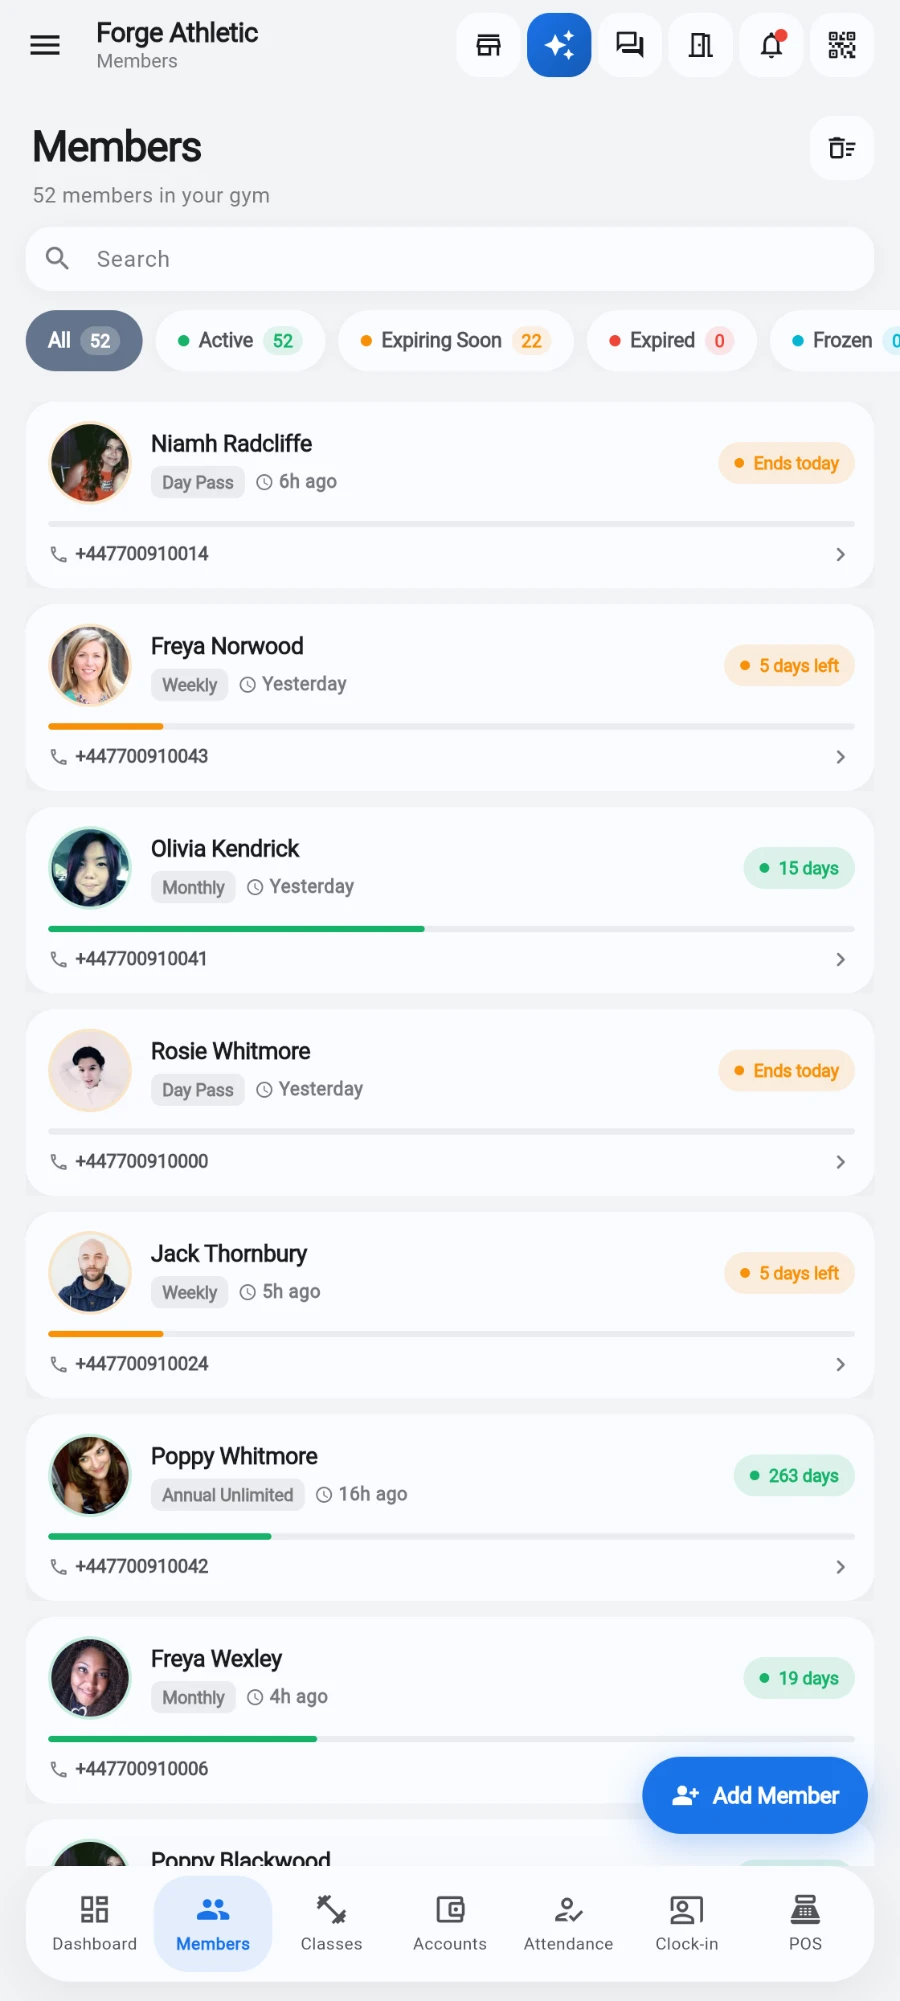
Open the Members tab. The chips along the top — All / Active / Expiring Soon / Expired / Frozen — filter the list, each with a live count.
-
Tap Add Member.
-
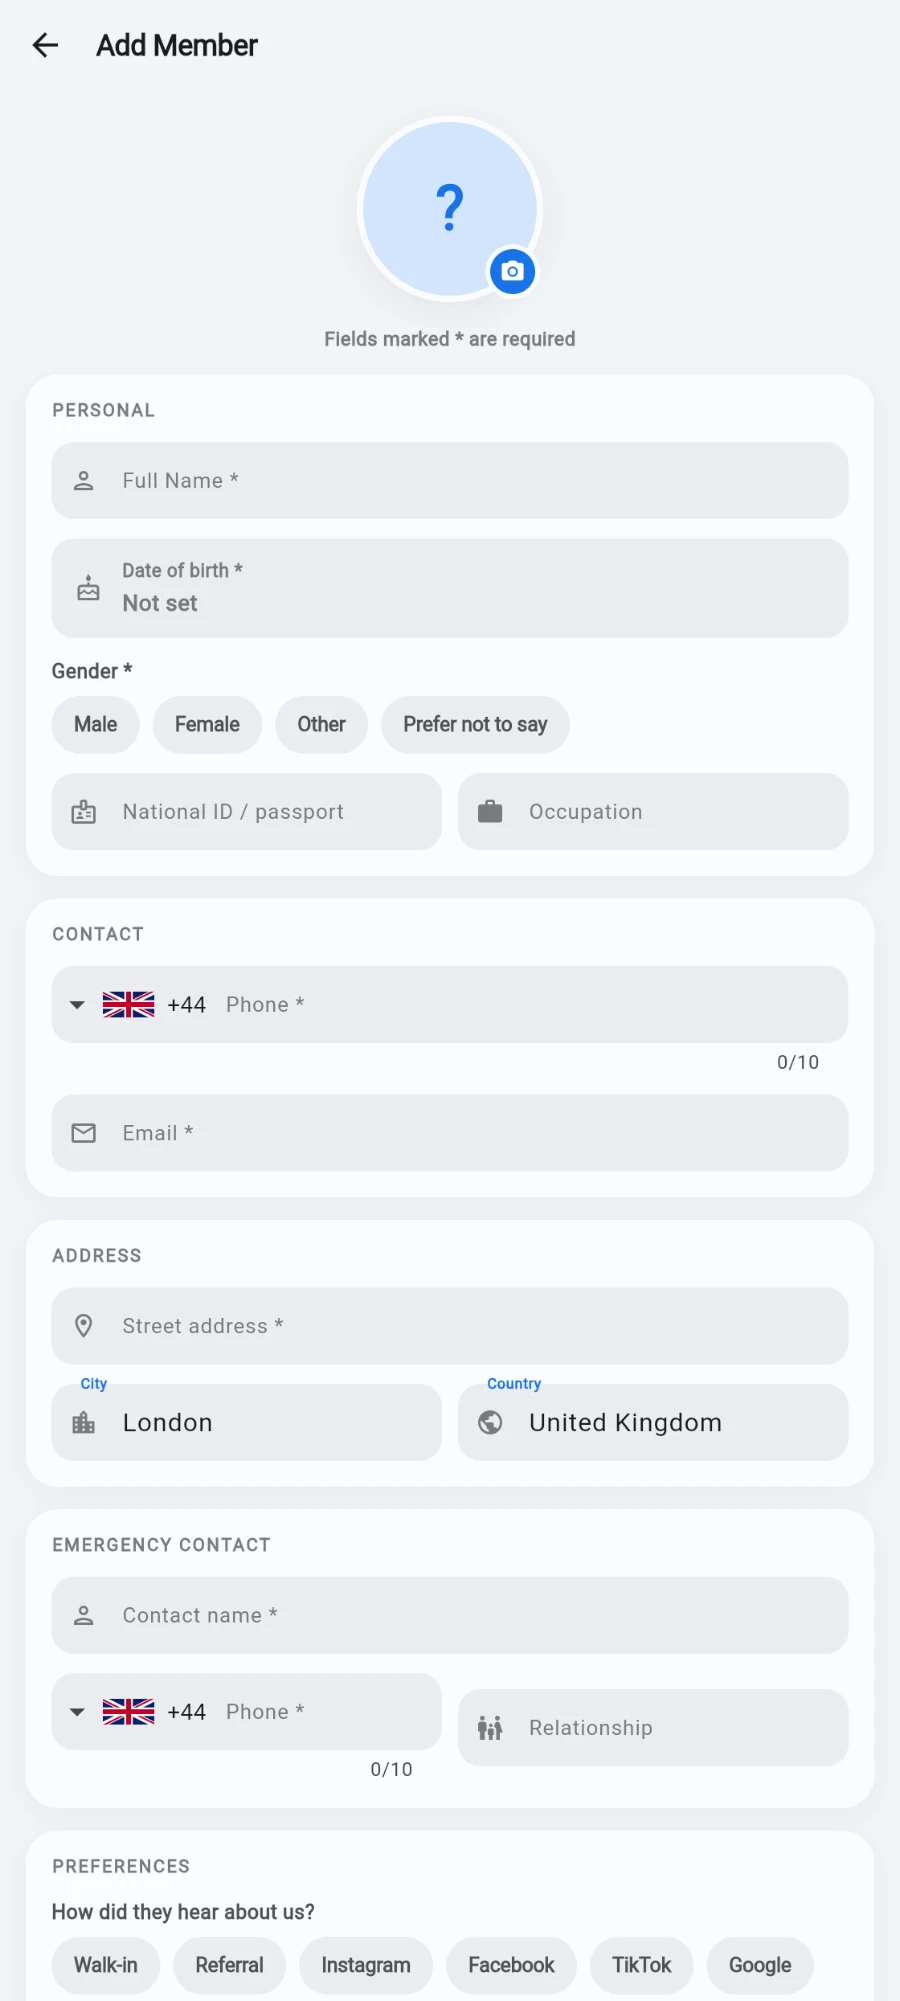
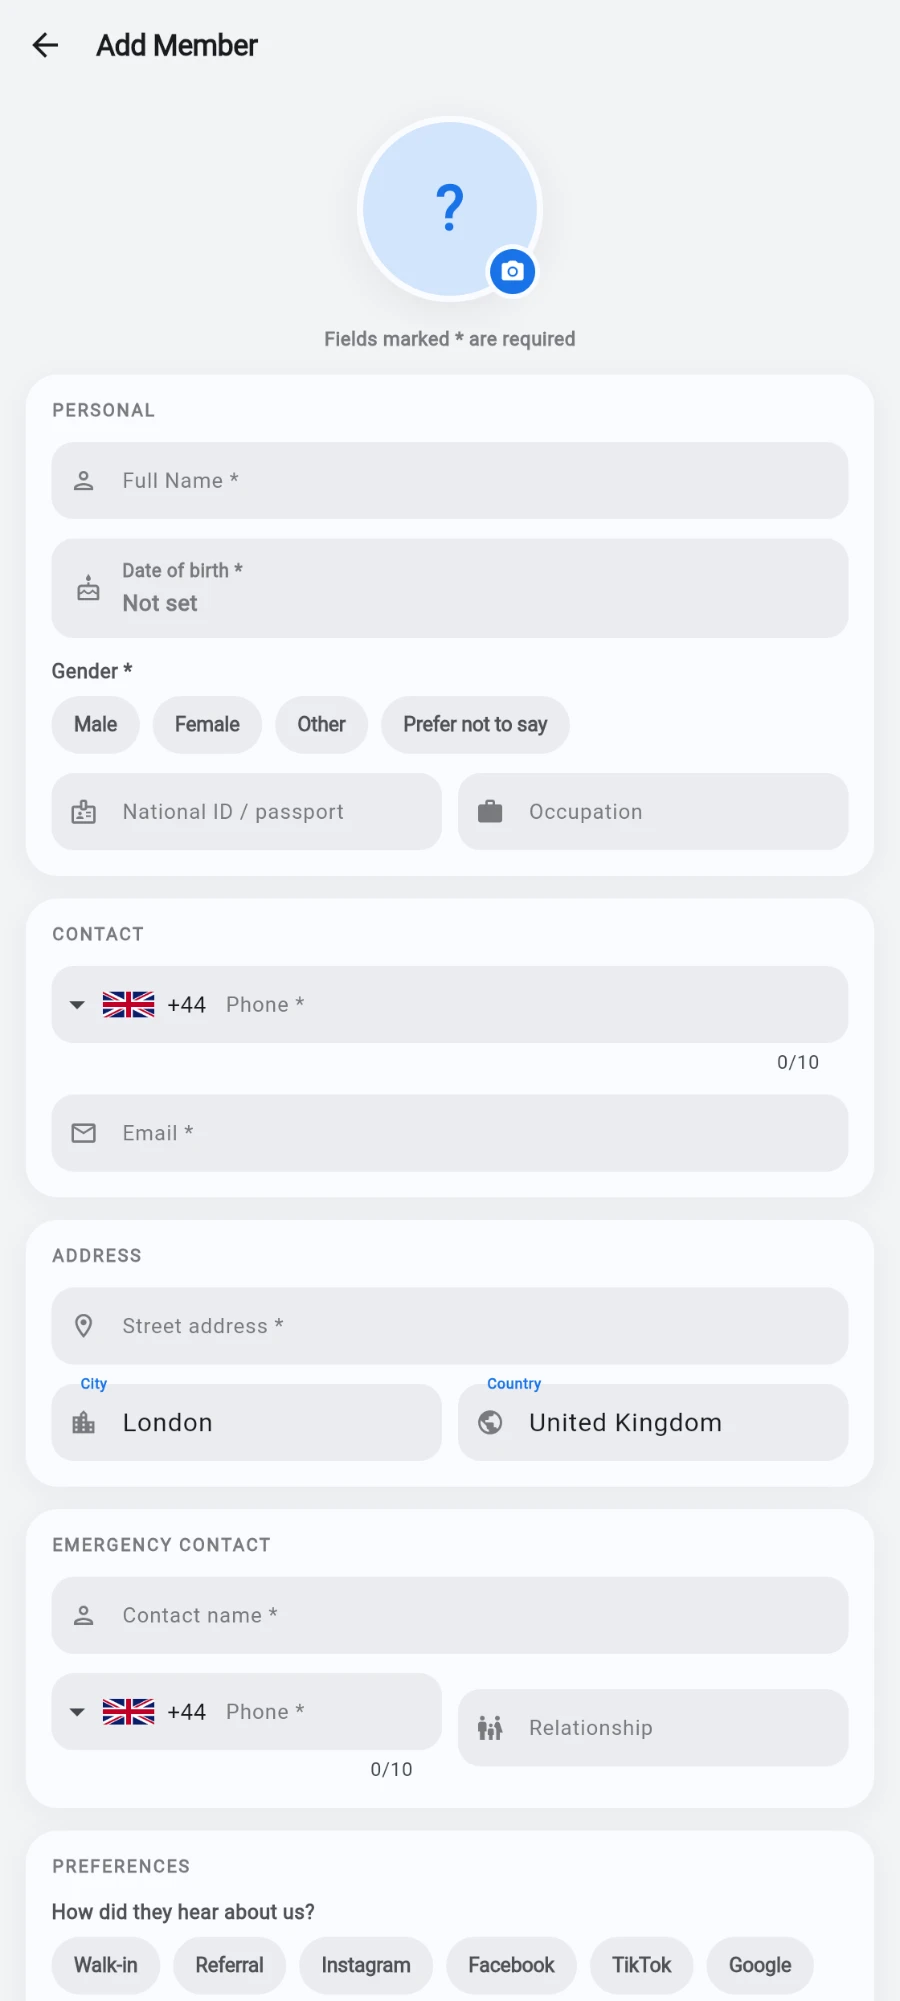
Add a photo: tap the photo circle, then take one with the camera or pick one from the gallery. The form reminds you: Fields marked * are required.
-
Fill in PERSONAL — Full Name, Date of birth and Gender (Male / Female / Other / Prefer not to say) are required; National ID / passport and Occupation are optional.
-
Tapping Date of birth opens a calendar — tap the pencil icon to type the date instead of scrolling years.
-
Fill in CONTACT — Phone (pick the country code from the flag picker; the counter shows when the number is complete) and Email. Both required.
-
In ADDRESS, enter the Street address (required); City and Country complete the picture.
-
Fill in EMERGENCY CONTACT — Contact name and Phone are required, Relationship is optional.
-
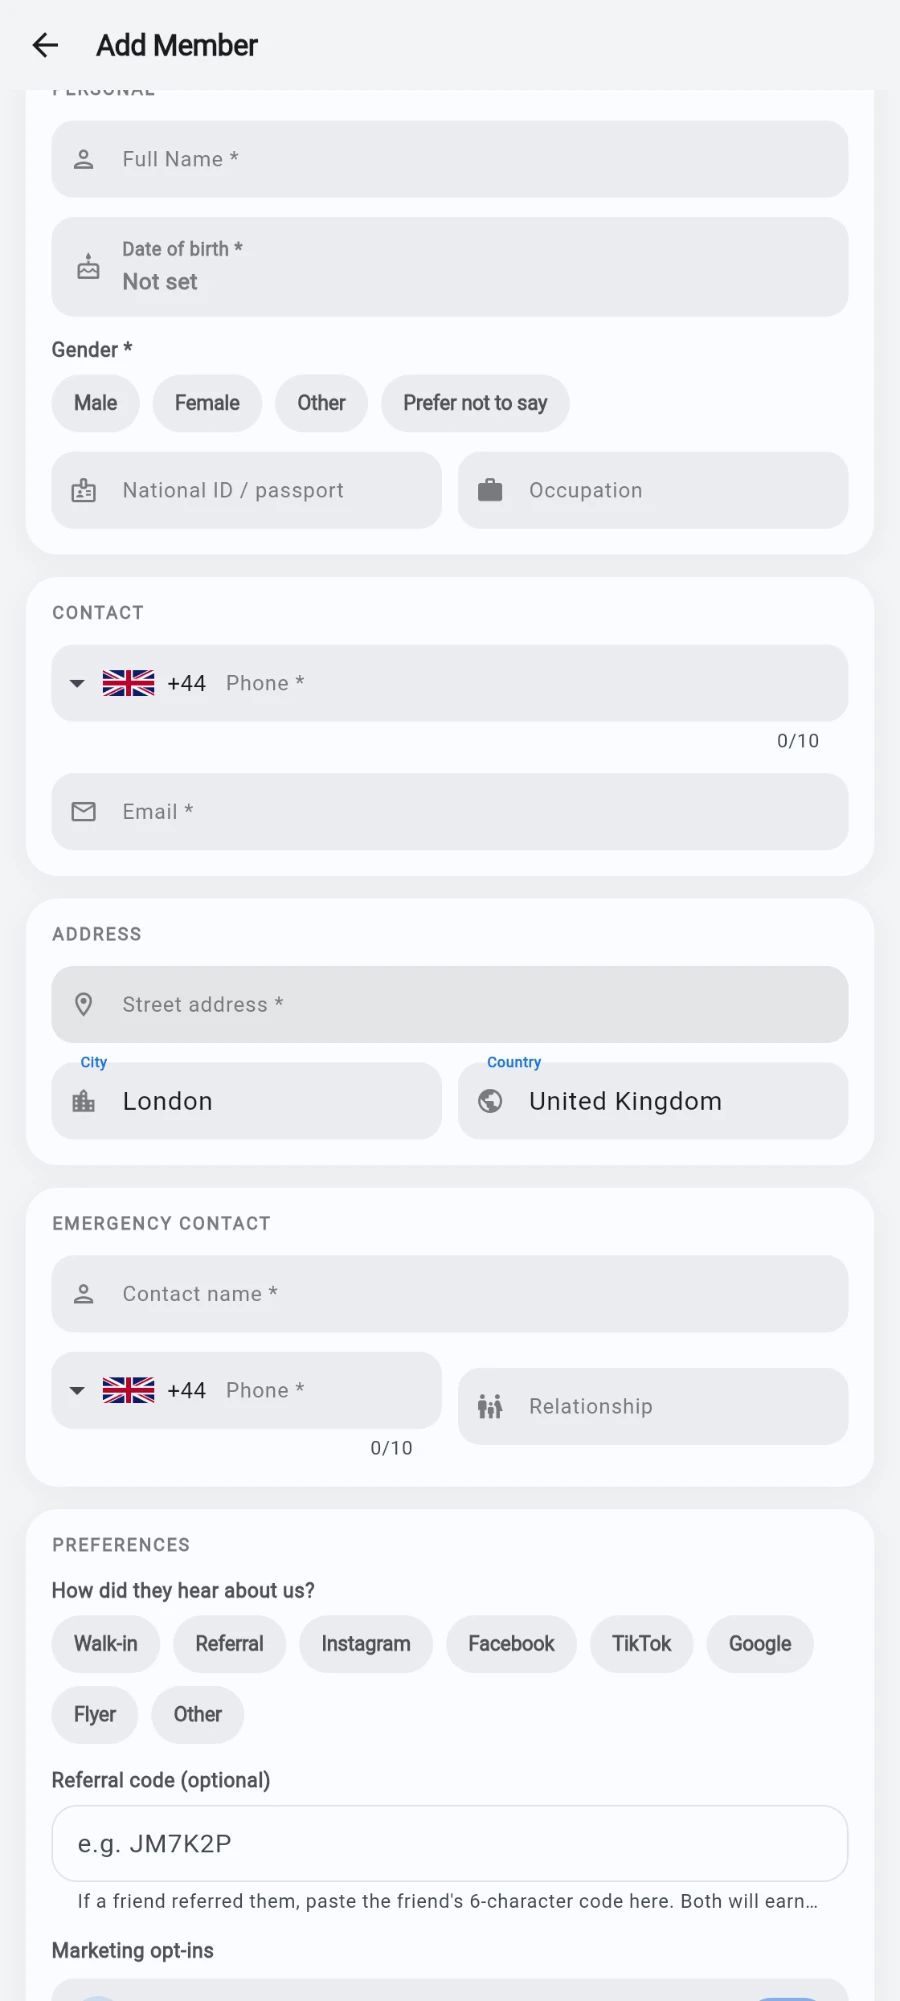
In PREFERENCES, pick How did they hear about us? (Walk-in, Referral, Instagram, Facebook, TikTok, Google, Flyer, Other) and enter a Referral code if a friend referred them — both friends earn the referral reward.
-
Check the Marketing opt-ins: Email and SMS start on, WhatsApp offers starts off — it needs the member's explicit agreement.
-
Add NOTES if useful — Internal notes (staff only) and Health notes for injuries, allergies or conditions.
-
Tap Save.
What you should see
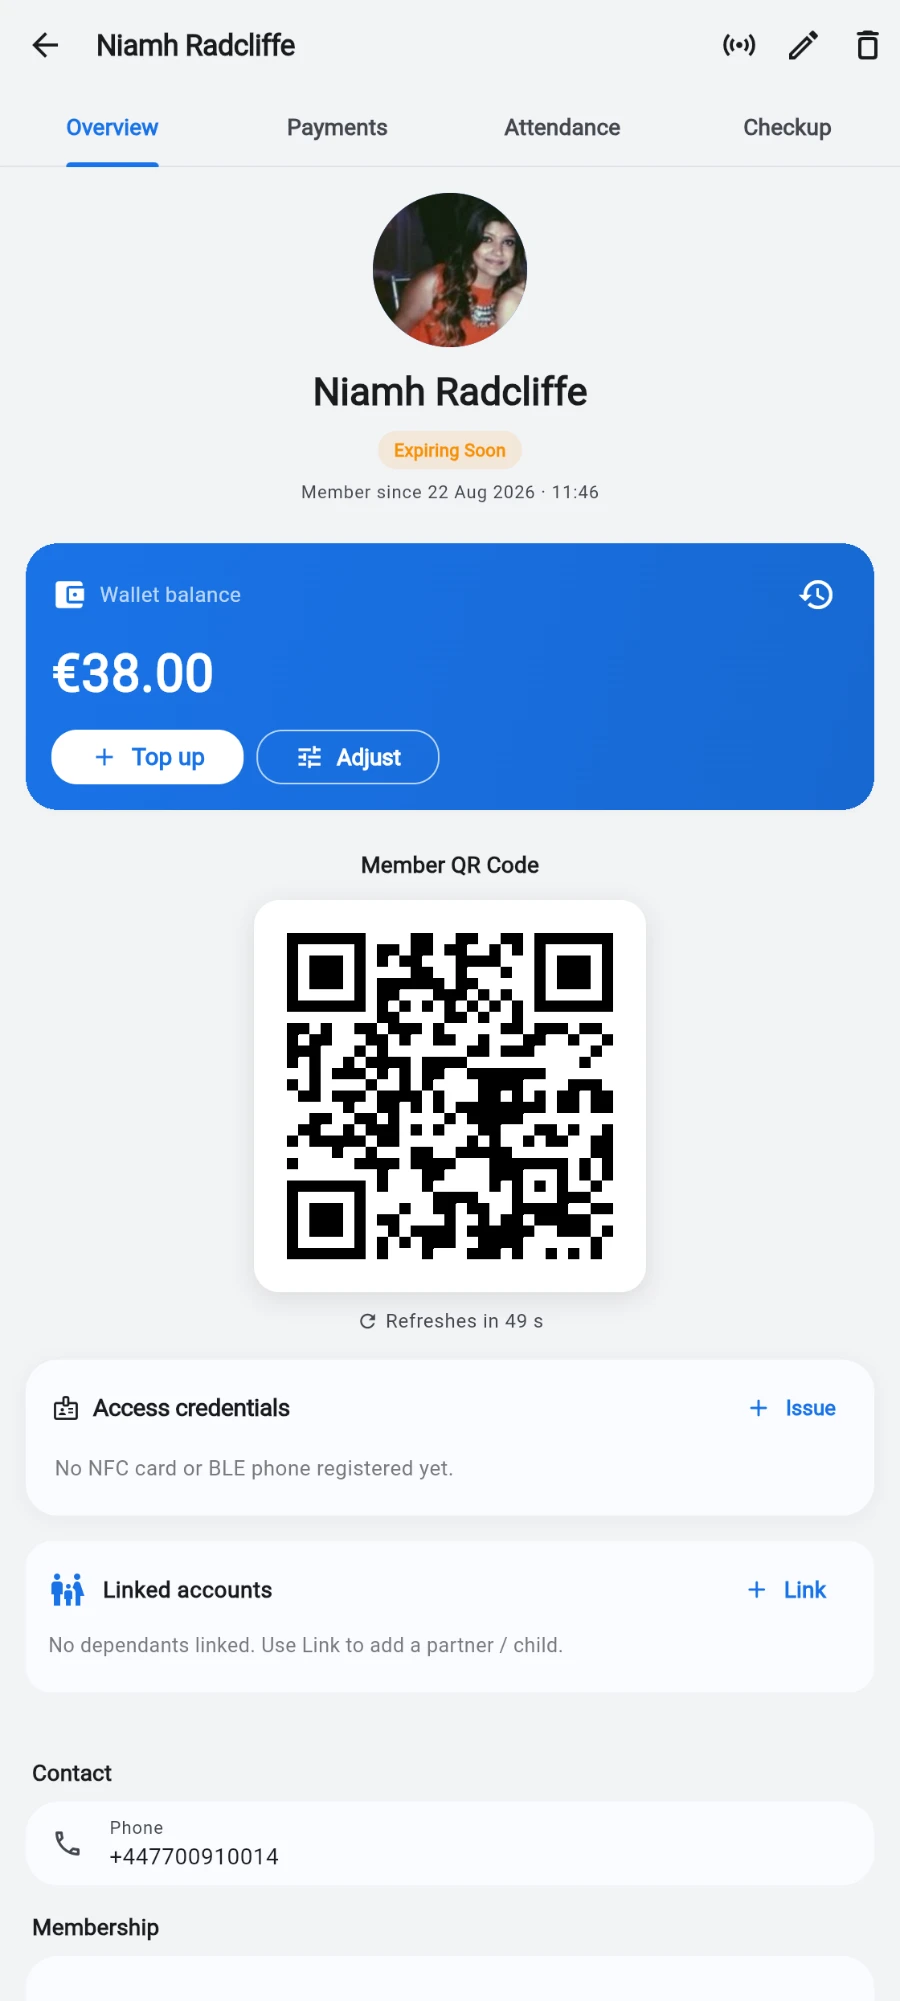
The member's profile opens: their name with a No plan badge, a zero wallet, their member QR code, and empty Access credentials ready for an NFC card or BLE phone.
Sell them a plan
From the profile, tap Sell… and pick their membership plan — payment, start date and receipt happen there. The selling chapter covers it step by step.
If something goes wrong
- Save does nothing — a required field (marked *) is still empty; scroll up to find it outlined in red. Emergency contact name and phone are the usual culprits.
- Possible duplicate keeps appearing — the number belongs to a deleted member; restore that record instead of creating a twin.
Still stuck? Email hello@prismgym.com — include your gym name, the device, and a photo of what you see.